 (Image via
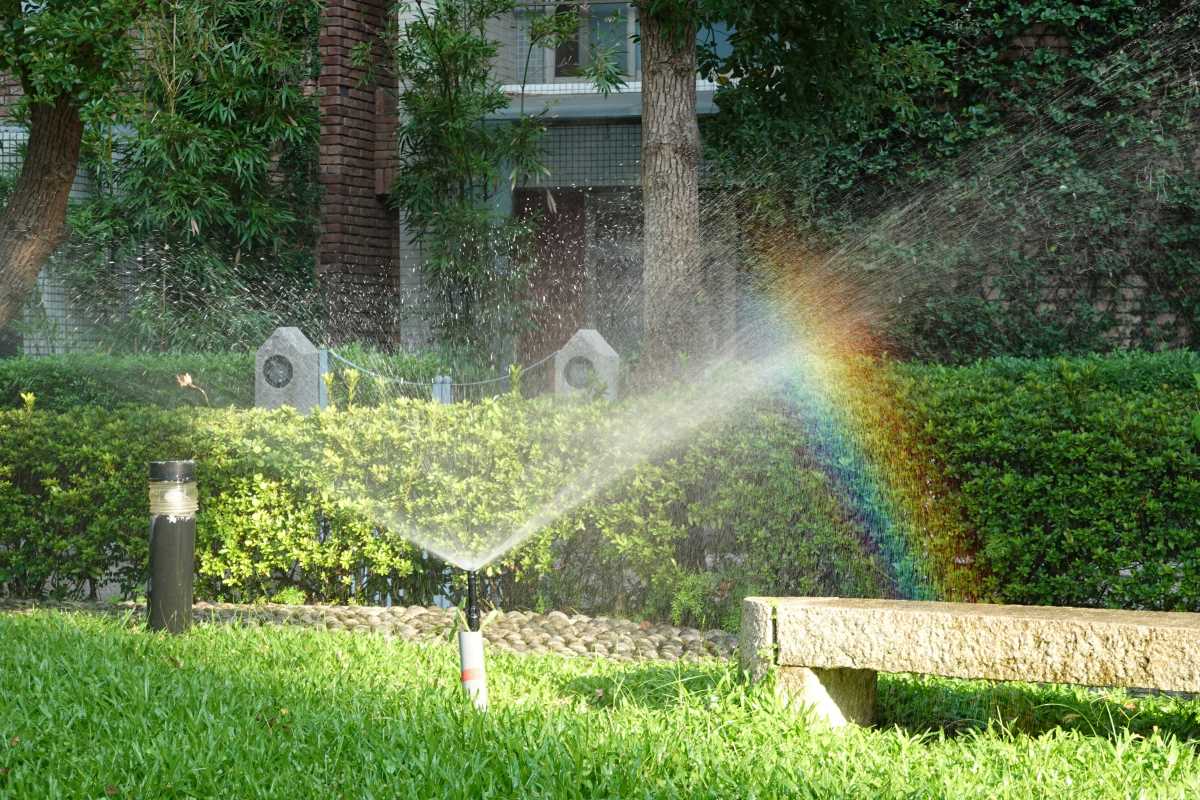
Watering large areas can become much easier with the help of smart irrigation timers. These devices automate the watering process, reducing the effort needed to keep landscapes healthy while cutting down on water waste and time spent on routine tasks. This guide walks you through the essentials of installing, programming, and maintaining your system, so you can take advantage of automated watering without confusion or hassle. Learn how to set up and fine-tune your timer for maximum coverage and reliability, ensuring your grounds stay lush with minimal manual attention. With these helpful tools, daily irrigation becomes accurate and far less time-consuming.
With these timers, you no longer need to worry about uneven watering. Advanced scheduling options guarantee that each part of your garden gets the appropriate amount of water. Whether you cultivate various crops or maintain a large lawn, these devices help you adjust effortlessly. Let’s examine how to set up a system that performs dependably on your land.
What Are Smart Irrigation Timers?
Smart irrigation timers are modern devices that allow you to control your watering system easily. They connect to your water source and use sensors or programmed schedules to decide when to turn on irrigation. Their design fits different landscapes, ensuring your fields, lawns, or gardens receive proper hydration.
These timers include useful features that make garden management simpler. The main benefits include:
- Remote control: Manage and monitor watering schedules through a smartphone app.
- Customization: Create different watering zones and adjust cycles for various parts of your land.
- Water saving: Sensors modify water flow based on weather and soil conditions.
- Efficiency: Automating the process cuts down on manual work and reduces water waste.
Selecting the Right Timer for Your Land
Choosing the best timer is essential to ensure your irrigation system works well over a large area. Know your watering needs and how components connect as the first step. Consider your land layout, plant types, and future expansion plans.
Here are important factors to think about when picking a timer:
- Area size: Check if the timer can manage different zones based on your property’s size.
- Water source: Confirm the device works with your water pressure and supply limits.
- Device compatibility: Make sure the new timer fits with your current system parts.
- Sensors and controls: Seek models that include soil moisture or weather sensors.
- Budget: Compare prices and features to find an affordable solution that meets your needs.
Preparation: Tools and Site Setup
Before starting the installation, gather the necessary tools and prepare the site. It is helpful to draw a rough layout of your irrigation zones and check for possible leaks or weak connections in your existing setup. Planning ahead prevents mistakes during installation.
Ensure you have these items ready:
- Screwdriver set
- Wire cutter/stripper
- Drill (with suitable drill bits)
- Measuring tape
- Level
- Smart irrigation timers user manual for instructions
Thoroughly examine all pipes and fittings. Verify connections, water pressure, and make sure the area to be irrigated is free of debris. This careful planning creates a strong base for a smooth installation.
Step-by-Step Installation Instructions
Start by turning off the water supply to prevent accidental flooding or damage. Review your layout and select the best spots to install the timer. Mark where wires will run and where the device will connect to your water system. Clear any obstacles that could block the installation.
Follow these steps to install successfully:
- Shut off the main water valve. Make sure no water is flowing before you work.
- Attach the timer to a stable surface near your main water line using screws and a drill.
- Connect the wiring from the timer to your existing irrigation system. Ensure each connection is tight and secure.
- Test the system manually by triggering the timer to check water flow in each zone.
- Adjust the position of sensors and wires if needed to get even water distribution.
- Turn the water back on and observe the initial cycles carefully, making adjustments as necessary.
This organized approach makes troubleshooting easier and helps you confirm that everything works properly before you start regular use.
Programming and Adjusting Your Timer
After installation, set up your smart irrigation timer using its app or control panel. Adjust the settings to meet the watering needs of different garden sections. Use the customization options to set duration and frequency, considering seasonal changes.
Think about the types of plants and soil conditions when creating the schedule. For example, drought-tolerant plants need less water, while newly planted gardens may require longer watering cycles. Spend time fine-tuning the timings during the first days of operation to ensure even water distribution. Regularly review the system to keep it effective as your garden grows.
Maintenance and Troubleshooting
Performing routine maintenance keeps your irrigation system working well for years. Check all connections and sensors regularly to prevent leaks or malfunctions. If the system does not work as expected, look for wiring obstructions, low batteries, or inconsistent water pressure. Make adjustments quickly to avoid wasting water.
Follow these best practices for upkeep:
- Clean sensors often to prevent dirt buildup that could affect readings.
- Inspect all wiring connections for wear or loose fittings.
- Replace batteries or power supplies on schedule to keep the system running smoothly.
- Compare timer settings with actual water output, making small adjustments as needed.
Create a dependable irrigation system by following these steps. Enjoy the daily benefits of automation and precise watering.