 (Image via
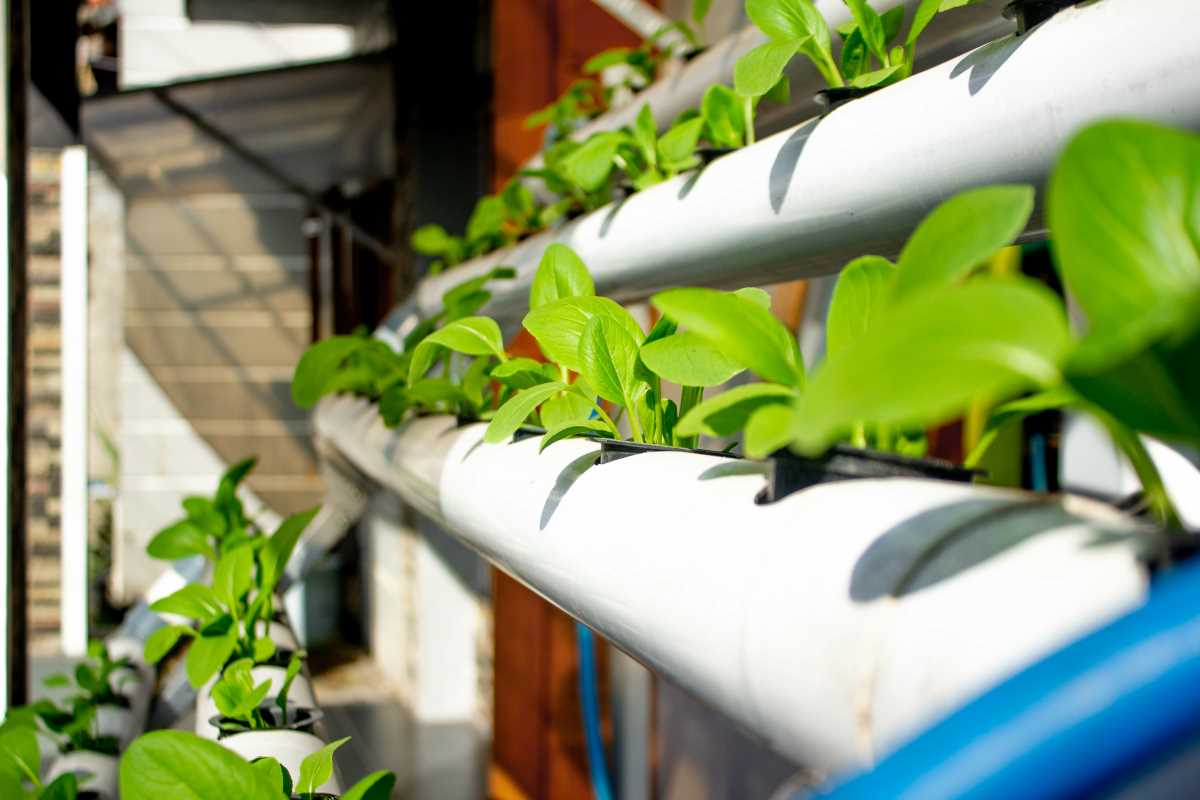
Growing plants with aeroponics introduces an efficient approach that uses less water and space than traditional gardening. By suspending roots in the air and delivering nutrients through a fine mist, this method encourages strong, healthy growth and eliminates the need for soil. Plants often mature faster because their roots access oxygen and nutrients more easily. People who have larger areas to dedicate to gardening can explore new possibilities with aeroponics, enjoying abundant harvests and fewer common issues such as pests or soil-borne diseases. This approach opens up exciting opportunities for anyone interested in modern, clean, and productive plant cultivation.
Using an aeroponic system means you control the environment surrounding your crops. It opens a path for efficient watering and nutrient delivery. You can customize this setup to suit larger areas while still being simple and achievable with basic supplies.
How an Aeroponic System Operates
Aeroponics depends on a fine mist of water and nutrients that reaches the roots of plants hanging freely in the air. Instead of soil or water-based reservoirs, plants receive exactly what they need through regular mists. This method allows roots to access oxygen efficiently, which can lead to faster growth rates compared to traditional methods.
The system sprays the nutrient solution at intervals controlled by a timer. The mist ensures that the roots are constantly bathed in the right balance of moisture and air.
Basic Supplies Needed
Before you start building, gather all the necessary supplies to create your setup. Using simple parts and available materials, you can assemble a system that meets your growing needs. Each component works together to deliver nutrients to the plants efficiently.
Here is a list of basic supplies you need to get started:
- Water pump – to circulate water and nutrients through the system.
- Nutrient reservoir – a container to store and mix your solution.
- Nozzles or misting devices – to spray the nutrient mist over the plant roots.
- Tubing and fittings – to connect all the components and guide the fluid flow.
- Timer – ensures the mist is applied at the correct intervals.
- Growing chamber or support structure – provides a space to secure plants while they develop.
Step-by-Step Assembly Instructions
Building your aeroponic setup is an engaging process. The design can be as simple or as complex as needed. With these straightforward steps, you set the foundation for a productive garden.
Follow these steps carefully:
- Prepare your workspace. Clear a large area where you can easily move around. Keep your tools and supplies nearby.
- Assemble the support structure. Securely fix your growing chamber or create a frame that lets you suspend plants at different heights. Make sure this area is stable so that the plant roots remain undisturbed during operation.
- Install the tubing system. Connect the water pump to the nutrient reservoir using the tubing. Attach the misting devices at the other end of the tubing, positioning them above where the plant roots will hang.
- Configure the timer. Set it to activate the water pump at regular intervals, ensuring that plants receive a consistent mist. Test the system by running a cycle and checking if all components work together.
- Check for leaks and make sure all connections are secure. Run the pump for a few minutes as you inspect the tubing and fittings. Tighten any loose parts and adjust the nozzle angles for even mist distribution.
- Introduce the nutrient solution. Once your system runs smoothly, fill the reservoir with water mixed with the recommended nutrients. Gradually place plants into the growing chamber.
Maintenance and Troubleshooting Tips
Regular maintenance keeps your aeroponic setup reliable. Routine checks prevent problems and extend your system's lifespan. Clean the reservoir every few weeks to remove buildup and check nozzle performance often to avoid clogs.
Follow these practical tips to keep your system working optimally:
- Monitor water and nutrient levels daily. Refill the reservoir as needed and adjust the nutrient concentrations to meet plant needs.
- Inspect tubing and fittings for signs of wear. Replace damaged parts to prevent leaks or inefficiencies.
- Set the timer accurately. Confirm that the cycle timings consistently deliver the correct mist duration to keep the roots moist and well-fed.
- Clean the nozzles periodically. Use a gentle brush to remove mineral or nutrient deposits and ensure an even mist output.
- Check your pump’s performance. If you notice irregular water flow or unusual noises, consider servicing or replacing the pump.
If you encounter any issues, retrace your steps in the assembly guide. Confirm each connection is secure and that the timer settings match the recommended intervals. Fixing minor problems early can keep your setup running smoothly during the entire growing season.
Ideal Crops for Aeroponic Systems
Aeroponic systems work best with crops that grow well without soil. Select varieties that develop strong roots and respond positively to nutrient mists. Some plants adapt easily to this method, making them perfect for testing or large-scale growing projects.
Consider planting these crops:
- Leafy greens such as lettuce, kale, and spinach – they grow quickly and make good use of nutrient sprays.
- Herbs like basil, mint, and cilantro – these plants thrive in open-air root environments and add fresh flavors to your meals.
- Tomatoes and peppers – both benefit from consistent watering and nutrient delivery, producing hearty yields.
- Cucumbers and zucchini – larger plants that can take advantage of the increased space provided by aeroponic setups.
Choose crops that match your climate and available space—this lets you experiment with different varieties and nutrient mixes for the best results. Track how each plant performs across cycles, making notes on mist intervals and nutrient strengths to refine your process.
Start small, observe, and tweak your approach as you go. With patience and curiosity, you’ll create a successful aeroponics setup and enjoy bigger yields over time.