(Image via
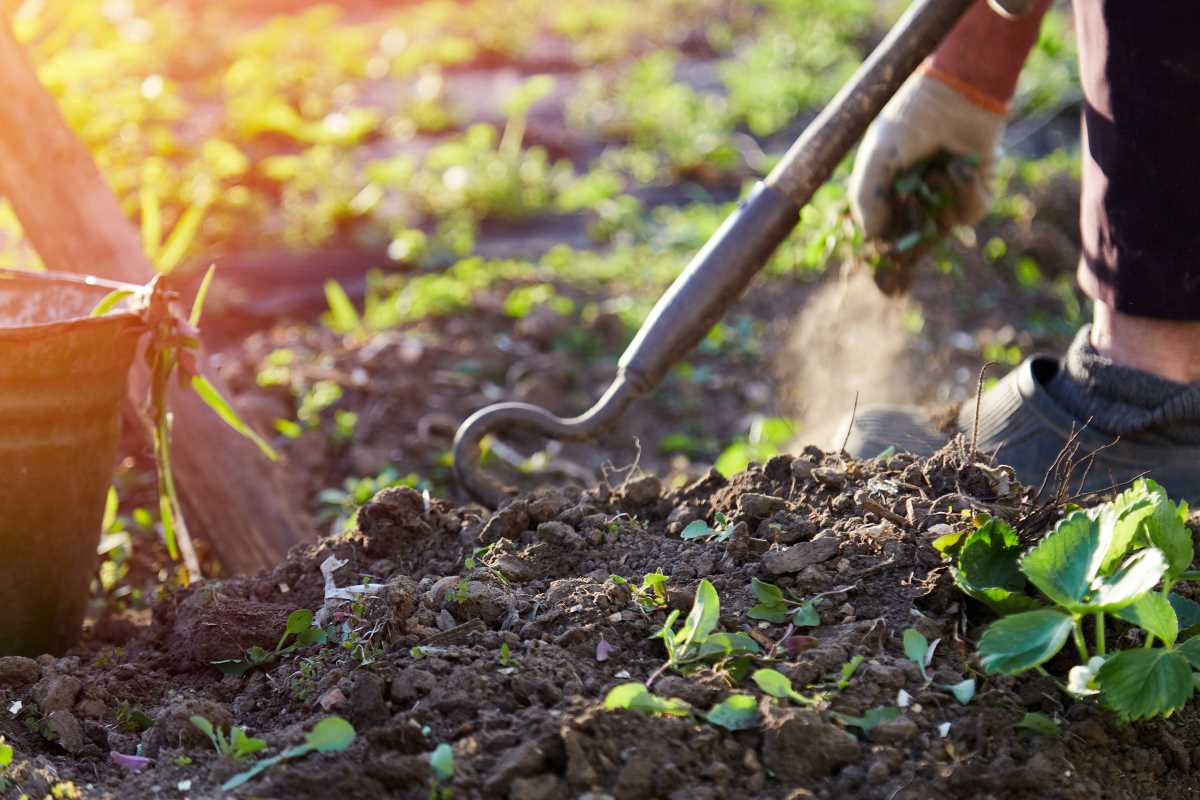
Access to satellite data has become much easier for those who oversee large areas of land. High-resolution images from space reveal changes in vegetation, highlight areas with low moisture, and show where problems may develop. With these insights, land managers can respond quickly and make informed decisions. Early detection of stress allows timely action, reducing the risk of widespread damage and unnecessary expenses. This technology helps transform guesswork into clear, actionable steps, making it possible to monitor vast landscapes efficiently and manage resources more effectively than ever before.
Once you tap into this tech, you see patterns invisible to the naked eye. Patches of underperforming crops, shifting soil conditions, and even pest hotspots appear in crisp detail. Those insights help you focus resources where they matter most, boosting yields and reducing guesswork.
Understanding Satellite Imaging Technology
Satellite imaging captures reflected light from fields, translating data into color-coded visuals. Sensors detect wavelengths beyond visible light, such as near-infrared, which crops reflect differently when they’re healthy or stressed. These signals become vegetation indices—simple values that reveal plant vigor.
Public platforms like Sentinel or private providers such as Planet Labs offer data with varying resolution and revisit rates. A higher revisit rate means you receive fresh images more often. You should choose a sensor based on your field’s size and the level of detail you require, whether you monitor hundreds of acres or thousands.
Choosing the Right Service Provider
Start by comparing resolution and revisit schedules. A provider that samples your land every two days with 3-meter resolution fits large tracts well. If you manage small plots, a 30-centimeter sensor with weekly updates might suit you better. Match data quality to on-the-ground goals.
Next, evaluate the software tools and support included. Some services bundle analysis dashboards with automated alerts, while others deliver raw files for you to process. If you lack GIS experience, look for an intuitive platform that simplifies metrics into color maps and trend charts.
Setting Up Your Field for Imaging
Place clear ground control points across your property. These markers help you align satellite images with real-world coordinates, ensuring accurate comparisons over time. Use GPS units or mobile apps to log their exact positions. Place them in open spots, away from tall equipment or machinery.
Record field boundaries and key crop zones in a digital map. When you submit your imaging request, upload these boundary files in standard formats like GeoJSON or KML. That step informs the service which areas to focus on, reducing clutter and processing time.
Collecting and Managing Imaging Data
Follow a consistent schedule. Decide on weekly or bi-weekly passes based on crop type and growth stage.
- Download raw and processed files right after each flyover.
- Store data in organized folders by date and field zone.
- Back up all files to a cloud drive or local server.
- Link images to your weather logs and machinery records.
Building a clear folder structure speeds up analysis. Label each file with the date, sensor type, and processing level. When you cross-reference soil tests or fertilizer applications, you will know exactly which image matches which record.
Many landowners start by exploring satellite imaging services alongside drone flights. This combination offers a bird’s-eye view and a ground-level check, creating a layered defense against hidden threats.
Analyzing Field Health Results
Use vegetation indices like NDVI to gauge crop vigor. On a color map, green patches indicate healthy growth, while yellow or red spots signal stress. Focus inspections on red zones: check for pests, water issues, or nutrient shortages before damage spreads.
Track trends over time. If a zone remains yellow for two weeks, adjust irrigation or apply targeted treatments. You will avoid blanket applications that waste inputs and improve environmental impact. Over multiple seasons, these records reveal which fields respond best to specific practices.
Cost, ROI, and Practical Tips
- Compare subscription fees to input savings. A modest monthly plan often reduces input bills by 10–20%.
- Save labor by pinpointing problem areas instead of scouting every acre on foot or tractor.
- Assess hardware costs for GPS units or compatible software licenses.
- Plan training time or budget for a consultant’s initial setup.
- Review service contracts annually to adjust data frequency and resolution as your field needs change.
Many managers recover imaging costs within one growing season. Clear maps cut down on wasted fertilizer and water. Sending crews only where action is needed shortens labor hours spent on routine scouting. These savings add up quickly.
Stay informed about new satellite launches and platform updates. Sensors that once cost thousands now fit into budget plans. Upgrading every two years ensures sharper images and faster revisits without exceeding your budget.
Start by marking your fields, choosing a plan, and scheduling passes. After receiving images, use the data to make informed decisions for irrigation and treatments. Space-based data helps manage large land areas effectively.